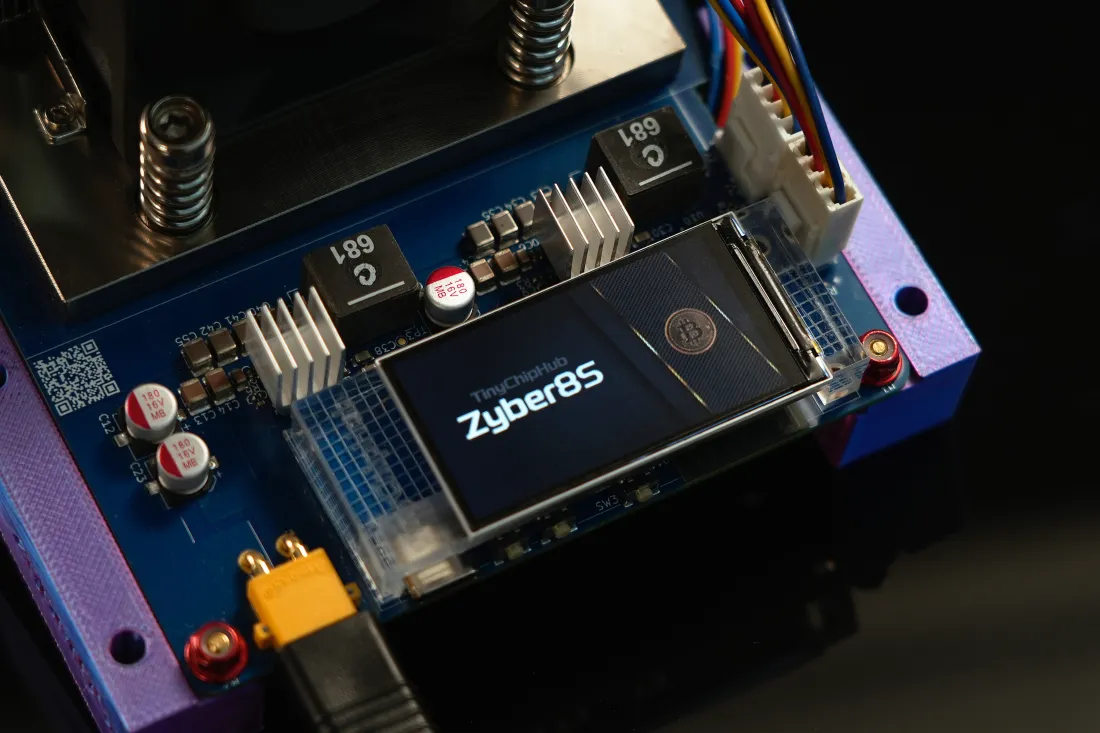
If you already have a BM1373 single-chip miner, upgrading to Zyber Blanc OC is not as crude as simply "cranking up the frequency." A more reasonable approach is to first dismantle the original structure, check the status of the motherboard, cooling, and power supply, then switch to a stable 5V/10A level power supply, and use an open-frame structure for testing (following a phased test of 2.5T → 3.0T → 3.5T).
As one of the pioneers of the BM1373 series, you can feel that the BM1373 chip has sufficient overclocking potential (currently, most on the market can reach 5~6 Th/s). However, TinyChipHub recommends a mode that can run stably 24/7, continuously observing temperature, stable submissions, and system response before proceeding with overclocking.
1. Zyber Blanc Standard Teardown List
First, confirm the BM1373 chip, control board, fan, power interface, and cooling contact surface. Here is a very important benchmark: After TinyChipHub disassembled an early Antminer S23, based on the overall hashrate and number of chips, the BM1373 single chip is approximately 2.1 TH/s. This number can serve as a realistic starting point when tuning a home desktop miner, rather than immediately chasing after others who reach 5 TH/s.
- Power off: Unplug the DC input and wait for the circuit to completely stop working.
- Remove the casing: Record the screw positions to avoid pressing on the PCB during reassembly.
- Inspect the chip: Observe whether there are any abnormal traces, dust, or residual thermal material around the BM1373 chip.
- Check cooling: Ensure uniform contact between the chip and the cooling components, with no obvious lifting.
- Check the fan: Confirm that the rated voltage, interface, and speed feedback are normal.
- Inspect power supply: Focus on checking the DC socket, wires, connectors, and the PCB power area.
Before upgrading, treat the Zyber Blanc Standard as a small experimental platform and inspect it according to the above process. At the same time, prepare the corresponding tools and the OC upgrade kit.
- ➡️ Zyber Blanc Standard (PCB board + heat sink);
- ➡️ Tools such as PH1 Screwdriver;
- ➡️ Components included in the OC upgrade kit;
- ➡️ New fans (8015 top fan + 4020 front fan): Responsible for continuous air exchange and active cooling.
- ➡️ 5V-10A PSU: Determines whether the system receives stable power in OC state.
Its core logic is simple: First confirm the hardware composition, then decide which parts need to be upgraded (this upgrade mainly involves replacing the power supply, fans, and architecture). A single BM1373 ASIC chip is responsible for the main computing tasks, with a standard hashrate of approximately 2.5 TH/s.
For home/small miners, the biggest advantage of this single-chip structure is that every change, including failures, is relatively easy to track. It is easy to monitor what you changed, how the temperature changes, and whether the system is stable.
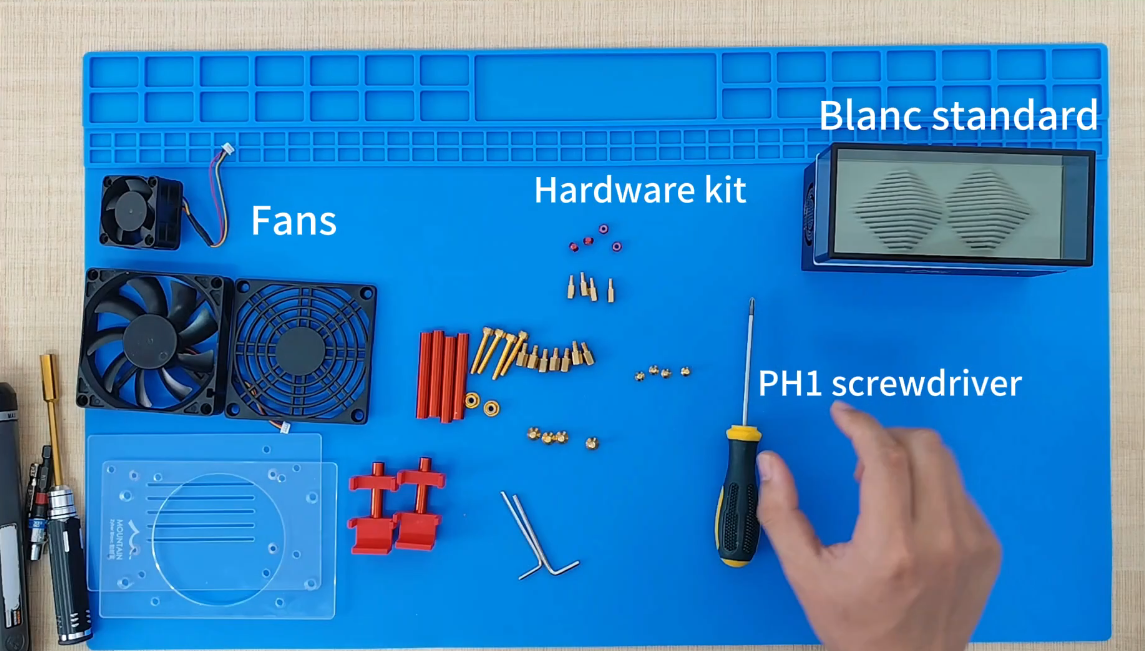
Disassembling is not like opening a blind box. The upgrade of the Zyber Blanc Standard this time is mainly for the stability of subsequent overclocking. The standard disassembly process can better expose the PCB board, which is the first threshold that home miners must master.
| Step | Key Points | Risk Level |
|---|---|---|
| 1. Power off & Remove fans | Turn off the PSU power switch, open the casing, and unplug the two fan connectors | Low |
| 2. Casing removal | Use a PH1 screwdriver to remove the 4 fixing screws, gently lift the heat sink + PCB board vertically upward, avoid using force that could separate the heat sink and the PCB board | Medium |
| 3. OC cooling module installation | According to the video process, install the received acrylic plate and screws in the designated positions | Low |
When we disassembled it for the first time, following this process, we succeeded quickly in one go. After disassembly is complete, you will see the exposed hash board. At this point, do not use brute force to touch those densely packed components; they are much more fragile than you think.
⚠️ Safety Tip: Power must be disconnected before disassembly. Do not replace heat sinks, fans, or PSU while the device is powered on. When involving power modifications, use equipment and components that comply with UL, CE, or other applicable local safety standards.
2. PSU Upgrade: 5V@10A
The most easily overlooked role in BM1373 chip overclocking is the Laboratory Optimized Power Supply. When many people see 2.5 TH/s, 3.0 TH/s, 3.5 TH/s, their first reaction is to flash the firmware; I am more accustomed to asking first: Is your power supply really ready?
After increasing the frequency, the workload of the ASIC chip will change, and the power supply system must provide a sufficiently stable output. Therefore, the recommended upgrade direction here is a 5V/10A PSU, which means the theoretical maximum output capacity reaches 50W. The point is not to make the device run at 50W forever, but to leave a more reasonable margin for instantaneous load and OC states.
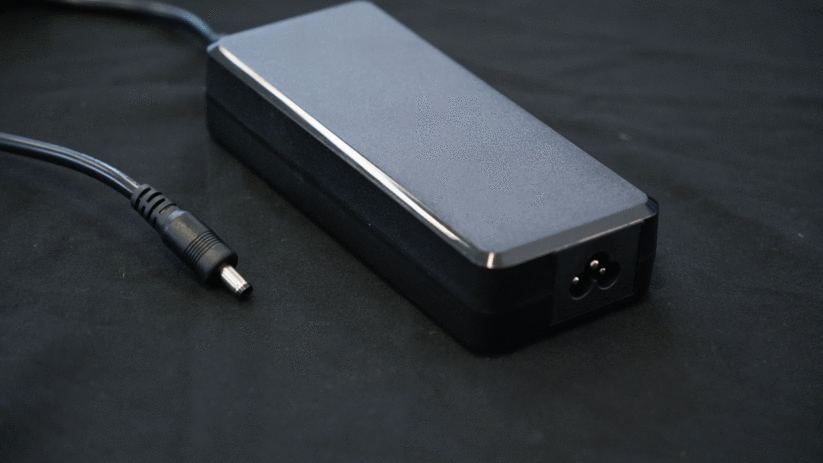
Real testing should look at continuous operation status, including Hashrate fluctuations over 15 minutes, 30 minutes, or even longer.
- 🔥 First turn off the device and disconnect the original PSU.
- ➡️ Confirm that the new power supply outputs a stable 5V DC.
- ➡️ Check whether the rated output capacity reaches 10A.
- ➡️ Confirm that the interface polarity is completely consistent with the device requirements.
- 🏃 After startup, first maintain the standard 3.0 TH/s test.
- 💪 After confirming stability, proceed to the next stage of OC.
There is a very important distinction here: 5V is the voltage specification, and 10A is the maximum continuous power supply capacity. Do not arbitrarily change the input voltage required by the device design. TinyChipHub values "stable 5V" more than exaggerated numbers written on the box. For North American home users, you should also confirm whether the power supply product has safety certifications or testing basis suitable for the local market. For example, UL-related certifications cannot be simply equated with "all 5V power supplies are safe"; the specific power supply model, purpose, and certification scope still need to be checked.
⚠️ Risk Warning: Do not mix and connect power supplies with unknown polarity by yourself, and do not use adapters that look the same but have unclear specifications. Writing 5V correctly does not mean the interface is definitely correct, and writing 10A does not mean the wires and connectors can output a stable voltage.
3. TCH Open-architecture Modification
The TinyChipHub open architecture is the soul and hallmark of the Zyber series miners. The value of an open structure is not just "looking more like DIY"; the problems it truly solves are heat dissipation, maintenance, and debugging. An open structure makes it easier to directly observe the status of the air duct, fans, and heat sinks. Zyber Blanc itself has two design concepts:
- The OC concept emphasizes DIY freedom in an open structure, allowing the addition of fans, accessories, and different cooling solutions;
- Standard adopts a closed appearance, making the ASIC miner closer to the form of a desktop device. However, as mentioned in our previous articles, the open-frame version is actually more suitable for DIY and cooling adjustments based on testing.
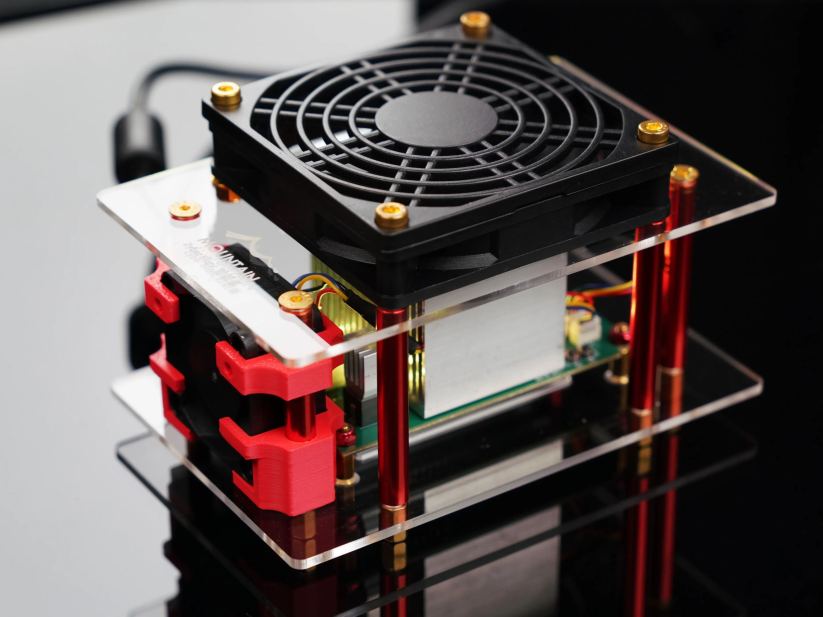
The core of TCH Open-architecture Modification is not "changing everything randomly," but retaining more controllable space for players. For example, PSU upgrades, cooling structure checks, firmware parameter adjustments, and stability tests between different Hashrate levels. The advantage of an open architecture is that it allows users to truly and transparently see the changes.
- Hardware layer: Check PSU, fans, heat sinks, and interfaces.
- System layer: Observe Zyber OS data and log feedback.
- Frequency layer: Adjust frequency for testing in stages.
- Verification layer: Determine stability through long-term continuous Hashrate.
⚠️ Modifications involving PCB boards, power lines, or cooling structures should be performed with the power off, and avoid damaging the original protective or safety structures.
4. Phased OC: 2.5T → 3.0T → 3.5T
Here comes the really interesting part: Do not jump directly from 2.5 TH/s to the highest target; instead, treat OC as three checkpoints. The first stage is the standard 2.5 TH/s, the second stage attempts 3.0 TH/s, and the third stage challenges 3.5 TH/s. The significance of each level is different. 2.5 TH/s is the baseline, 3.0 TH/s is the balance point after hardware upgrades, and 3.5 TH/s belongs to further testing under higher loads.
- 🔥 Hashrate: Look at the sustained value, not the instantaneous peak.
- 🌡️ Temperature: Observe the heating rate, not just record the highest temperature.
- ⚡ Power supply: Confirm that the 5V input remains stable when the load changes.
- 🧊 Cooling: Confirm that the fan and heat sink can continuously dissipate heat.
- 💻 Stability: Pay attention to restarts, HW Errors, and hashrate drops.
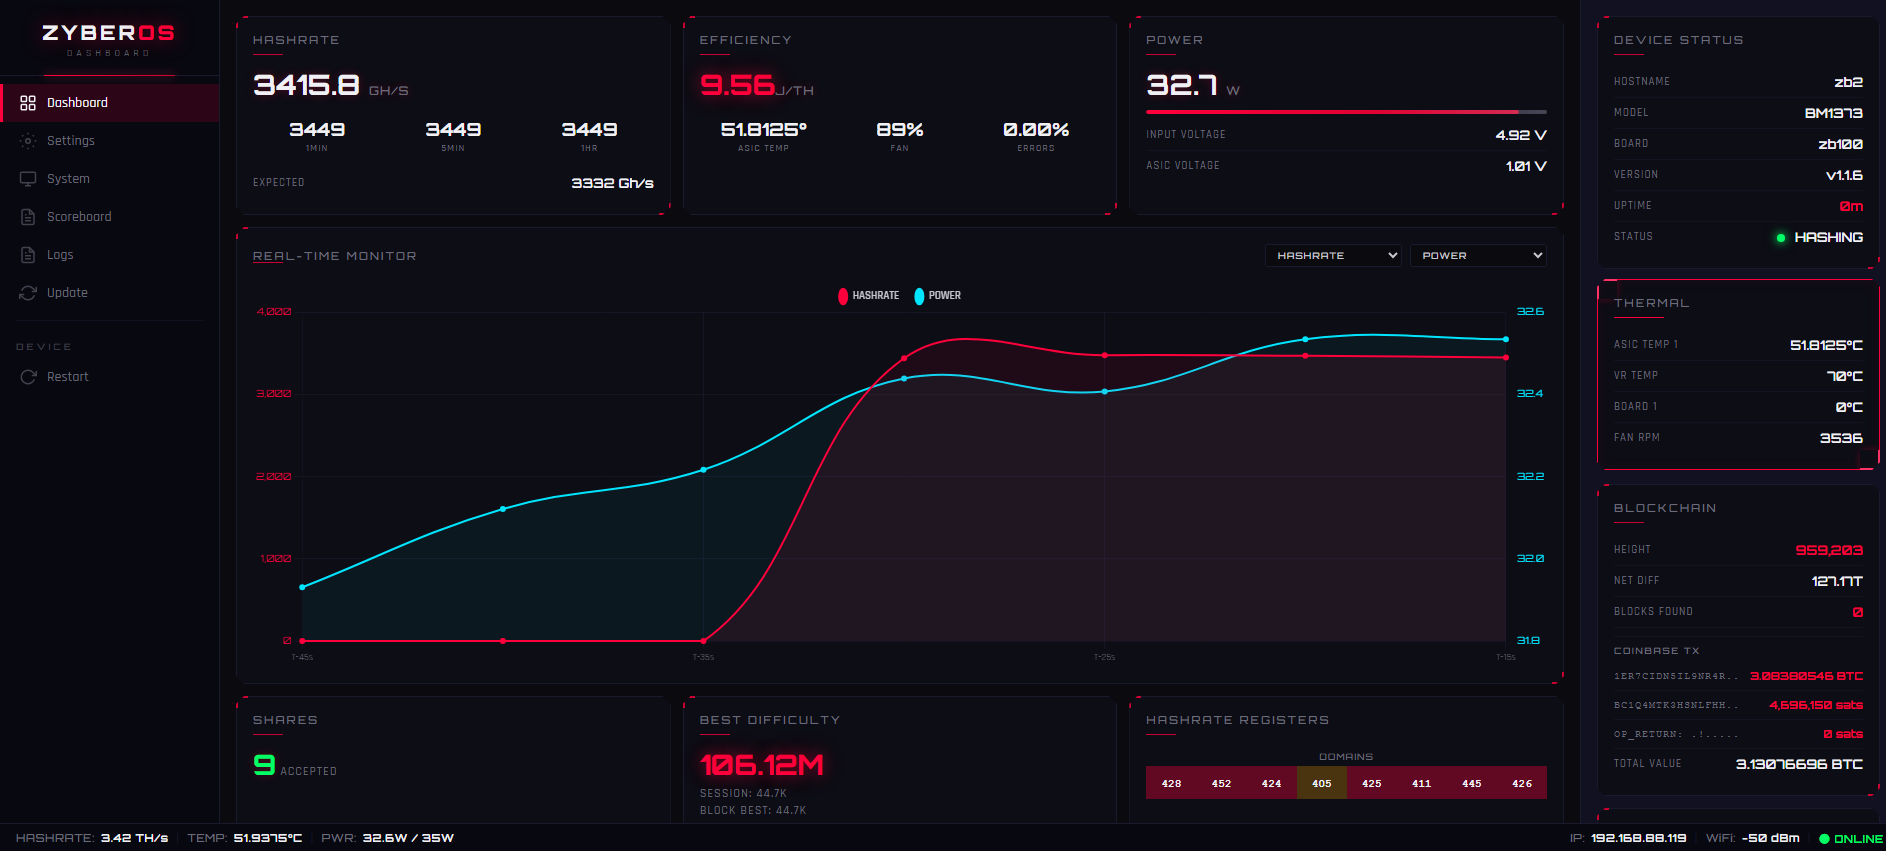
The biggest advantage of this phased approach is that you can know exactly at which node the device starts to change. If both 2.5 TH/s and 3.0 TH/s are stable, but 3.5 TH/s experiences continuous fluctuations, then the problem will not be impossible to locate. You can go back to check the cooling, power supply, and frequency parameters, rather than dismantling everything all at once.
| Stage | Target Hashrate | Test Focus |
|---|---|---|
| Stage 1 | Approx. 2.5 TH/s | Confirm basic stability after upgrade |
| Stage 2 | Approx. 3.0 TH/s | Observe temperature, error rate, and sustained hashrate |
| Stage 3 | Approx. 3.5 TH/s | Verify cooling, power supply, and long-term operation capability |
In actual testing, it is recommended to modify only one core variable at a time. For example, first complete the 5V/10A PSU upgrade, then adjust the OC parameters, rather than modifying the PSU, cooling, and frequency simultaneously. This approach may result in significant hashrate improvements, but when data changes occur, you know which operation caused the impact.
⚠️ Note: Overclocking will change the chip's operating conditions and may increase thermal stress, power supply pressure, and the risk of hardware failure. Any 3.5 TH/s test should be regarded as an experimental result under specific equipment, specific power supply, specific cooling, and specific environmental conditions, not as a guaranteed value for all BM1373 devices.