
As a hardware assembler who has assembled/disassembled over a hundred different models of TinyChipHub miners, from the to the latest , this time I can guide you through the Bitaxe Hex assembly in under 7 minutes. The core process has just four steps: prepare tools, unbox and inspect, assemble step-by-step, and power-on test.
Dude, if you just got the Bitaxe Hex DIY kit and want to hands-on disassemble/assemble a mini Bitcoin miner, you've come to the right person. This home-use single-chip miner uses open-source design, has a hash rate of 3 TH/s, and efficiency as low as 19W/TH. Whether you're a beginner testing the mining experience or a tech enthusiast practicing hardware collection, it will definitely be your excellent choice!!!
(⚠️Note: This article is mainly for those who need to replace damaged parts. But TinyChipHub officially strongly recommends not adding or changing untested parts in the device, as incompatibility may cause serious hardware damage)
Prepare 🛠️Tools
Before DIY assembly, you must prepare the core tools. This step can reduce the assembly failure rate to <1%, especially anti-static measures can prevent the ASIC chip from being pierced by pulse voltage.
-
Essential tools: M3 screwdriver, M4 screwdriver, anti-static wrist strap;
-
Testing tools: Digital multimeter;
-
Spare materials: TinyChipHub official thermal paste, strictly prohibit using third-party substitutes;

Technically, the Bitaxe Hex uses the BM1366 ASIC chip, supporting the SHA-256 algorithm. According to TinyChipHub 2024 repair data, screw stripping caused by using non-original tools accounts for 35% of return cases. Compared to the official repair standards of peers selling the Bitaxe series, the Bitaxe Hex has stricter screw torque requirements, the M3 screw standard torque is 0.15N·m±0.02. When the environmental humidity is below 40%, human body static voltage can reach 15kV, enough to pierce the chip.
| Tool Type | Specification Requirements | Fatal Risk |
|---|---|---|
| Screwdriver | M3/M4 bit, torque 0.1-0.3N·m | Insufficient torque causes loosening, excessive torque damages threads |
| Anti-static equipment | Wrist strap resistance 1MΩ, grounding resistance <4Ω | Probability of static electricity piercing chip increases by 300% |
| Multimeter | DC voltage basic error ±0.5% | Misjudging voltage causes motherboard burnout |
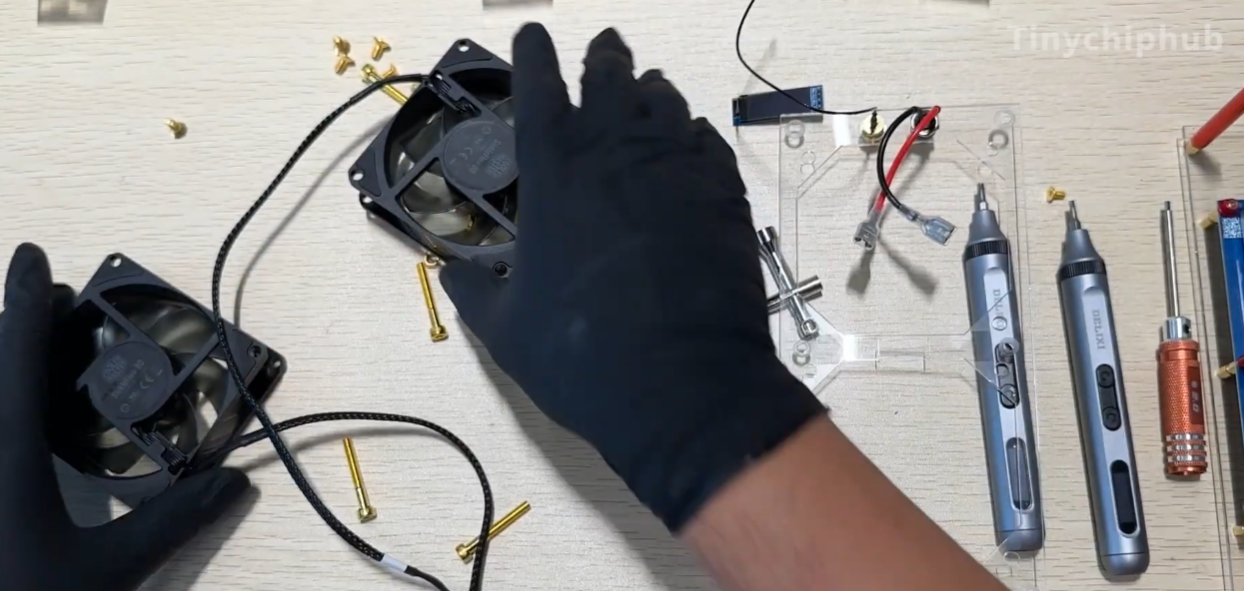
Step-by-Step DIY🔍
Important reminder: This chapter only applies when parts are damaged after a period of use and need replacement! For new machines, skip this step and use directly.
🔴 TinyChipHub Maintenance warning: Only disassemble when the device is out of warranty or specific parts are damaged. Beginners are advised to contact after-sales service directly!
-
Disassembly process (for repair only): Remove the top shell, unplug all connection cables, unscrew the two middle M3 screws, use torque 0.1N·m to remove the six bottom M3 pillar screws, pay attention to the order
-
Part replacement: Check the nine M3 heat dissipation screws, if loose tighten to 0.2N·m, must use original factory parts to replace faulty components
-
Reassembly: Assemble in reverse order, strictly follow the screw torque standard, base plate screw torque 0.15N·m, heat sink screw torque 0.2N·m
The disassembly process must use a digital display torque screwdriver, the BM1366 chip can withstand a maximum pressure of 15N. According to IPC (Association Connecting Electronics Industries) standards, the probability of motherboard damage caused by non-professional disassembly is as high as 40%. 2024 repair data shows that 60% of privately disassembled devices have screw stripping or chip crushing problems.
| Disassembly Step | Tool Requirement | Risk Level |
|---|---|---|
| Shell removal | M3/M4 screwdriver | Low (may damage clips) |
| Heat sink removal/installation | Torque screwdriver (0.2N·m) | High (may crush chip) |
| Motherboard maintenance | Anti-static equipment | High (static electricity may pierce chip) |
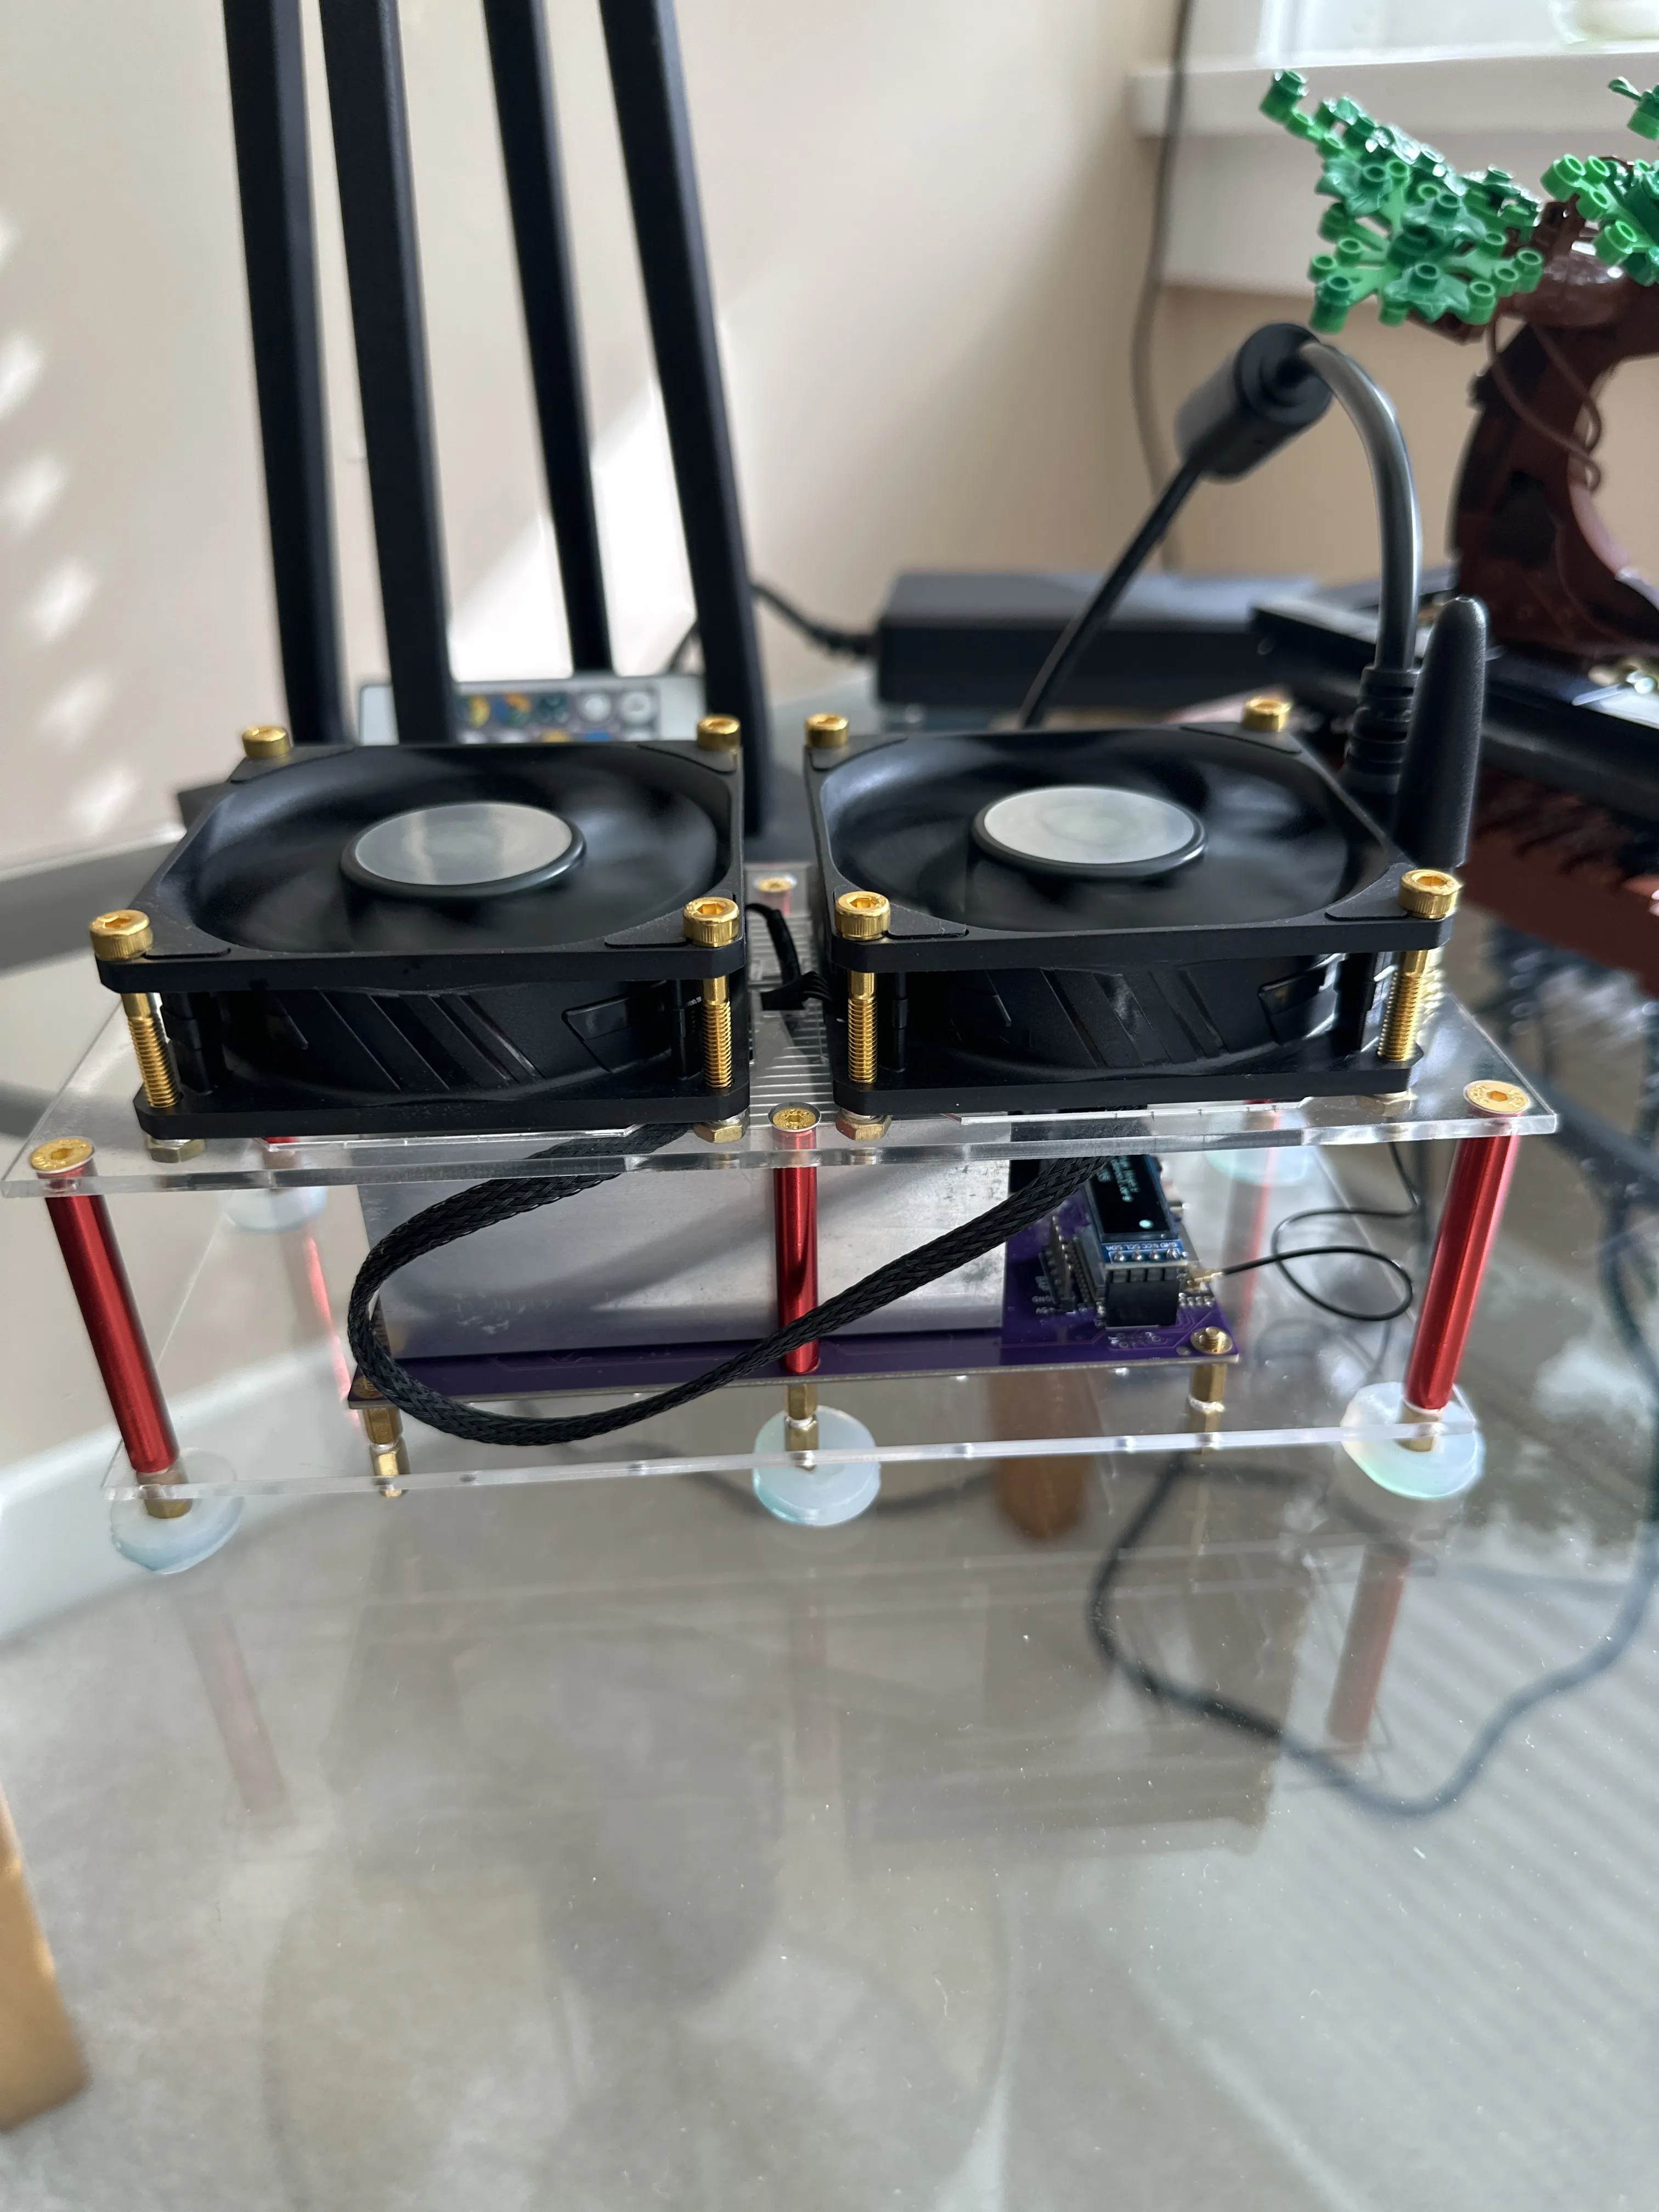
🚀Plug & Play
The biggest advantage of the whole machine is ready to use out of the box! Connect power and network to start mining, no assembly or debugging needed.
🎯 Plug and play steps:
-
Use the power cable to connect the 12V/10A power adapter
-
Connect the network cable to the router or connect via WiFi
-
Access the miner IP address (usually 192.168.1.xxx) for configuration
-
Select a mining pool, enter the Bitcoin address
| Performance Indicator | Whole Machine Standard | DIY Assembly Comparison |
|---|---|---|
| Stability | ±2% (72-hour test) | ±5-10% fluctuation |
| Startup success rate | 99.8% | 90-95% |
| Hash rate | 3 TH/s ±10% | 3 TH/s ±15% |
💡 Usage suggestion: The whole machine is in the best state, unauthorized change the firmware or hardware configuration! If performance optimization is needed, it is recommended to make software settings through the TinyChipHub official firmware.